Setting up a Raspberry Pi as a firewall router is a cost-effective and versatile solution for enhancing your network security and optimizing performance. Whether you're a tech enthusiast, a small business owner, or someone looking to secure their home network, this guide will walk you through the process step by step. A Raspberry Pi, combined with open-source software, can serve as a powerful firewall and router, offering advanced features that rival commercial solutions.
With the rise of cyber threats and the increasing importance of network security, having a reliable firewall and router is essential. Traditional routers often lack the flexibility and control that a Raspberry Pi setup can provide. By transforming your Raspberry Pi into a firewall router, you gain the ability to monitor traffic, block malicious websites, and even create custom rules tailored to your needs.
In this article, we will explore the process of setting up a Raspberry Pi as a firewall router, including the necessary hardware, software, and configurations. By following this guide, you'll not only enhance your network security but also gain valuable insights into how firewalls and routers function. Let's dive into the details and get started!
Table of Contents
- Introduction to Raspberry Pi as a Firewall Router
- Benefits of Using Raspberry Pi as a Firewall Router
- Required Hardware and Setup
- Choosing the Right Software
- Step-by-Step Installation Guide
- Configuring Firewall Rules
- Optimizing Network Performance
- Enhancing Security with Advanced Features
- Troubleshooting Common Issues
- Conclusion and Next Steps
Introduction to Raspberry Pi as a Firewall Router
A firewall router is a critical component of any network, acting as the first line of defense against unauthorized access and malicious activities. Traditionally, routers with built-in firewalls are purchased as standalone devices. However, with the Raspberry Pi, you can build your own firewall router that is both customizable and cost-effective.
Raspberry Pi is a single-board computer that has gained immense popularity due to its affordability, versatility, and ease of use. By installing firewall software such as pfSense or OPNsense, you can transform your Raspberry Pi into a powerful network security device. These open-source solutions provide advanced features like traffic monitoring, intrusion detection, and content filtering, making them ideal for both home and small business use.
Whether you're looking to block malicious websites, monitor bandwidth usage, or create custom routing rules, a Raspberry Pi firewall router offers unparalleled flexibility. In the following sections, we will explore the benefits, hardware requirements, and step-by-step setup process to help you get started.
Benefits of Using Raspberry Pi as a Firewall Router
There are several compelling reasons to use a Raspberry Pi as a firewall router:
- Cost-Effective: A Raspberry Pi costs significantly less than commercial firewall routers, making it an affordable option for budget-conscious users.
- Customizable: With open-source software, you have full control over the firewall rules and configurations, allowing you to tailor the setup to your specific needs.
- Educational: Setting up a Raspberry Pi firewall router is an excellent learning opportunity, helping you understand how firewalls and routers work.
- Energy-Efficient: Raspberry Pi consumes minimal power, making it an eco-friendly choice for long-term use.
- Compact and Portable: Its small form factor makes it easy to deploy in various environments, from homes to offices.
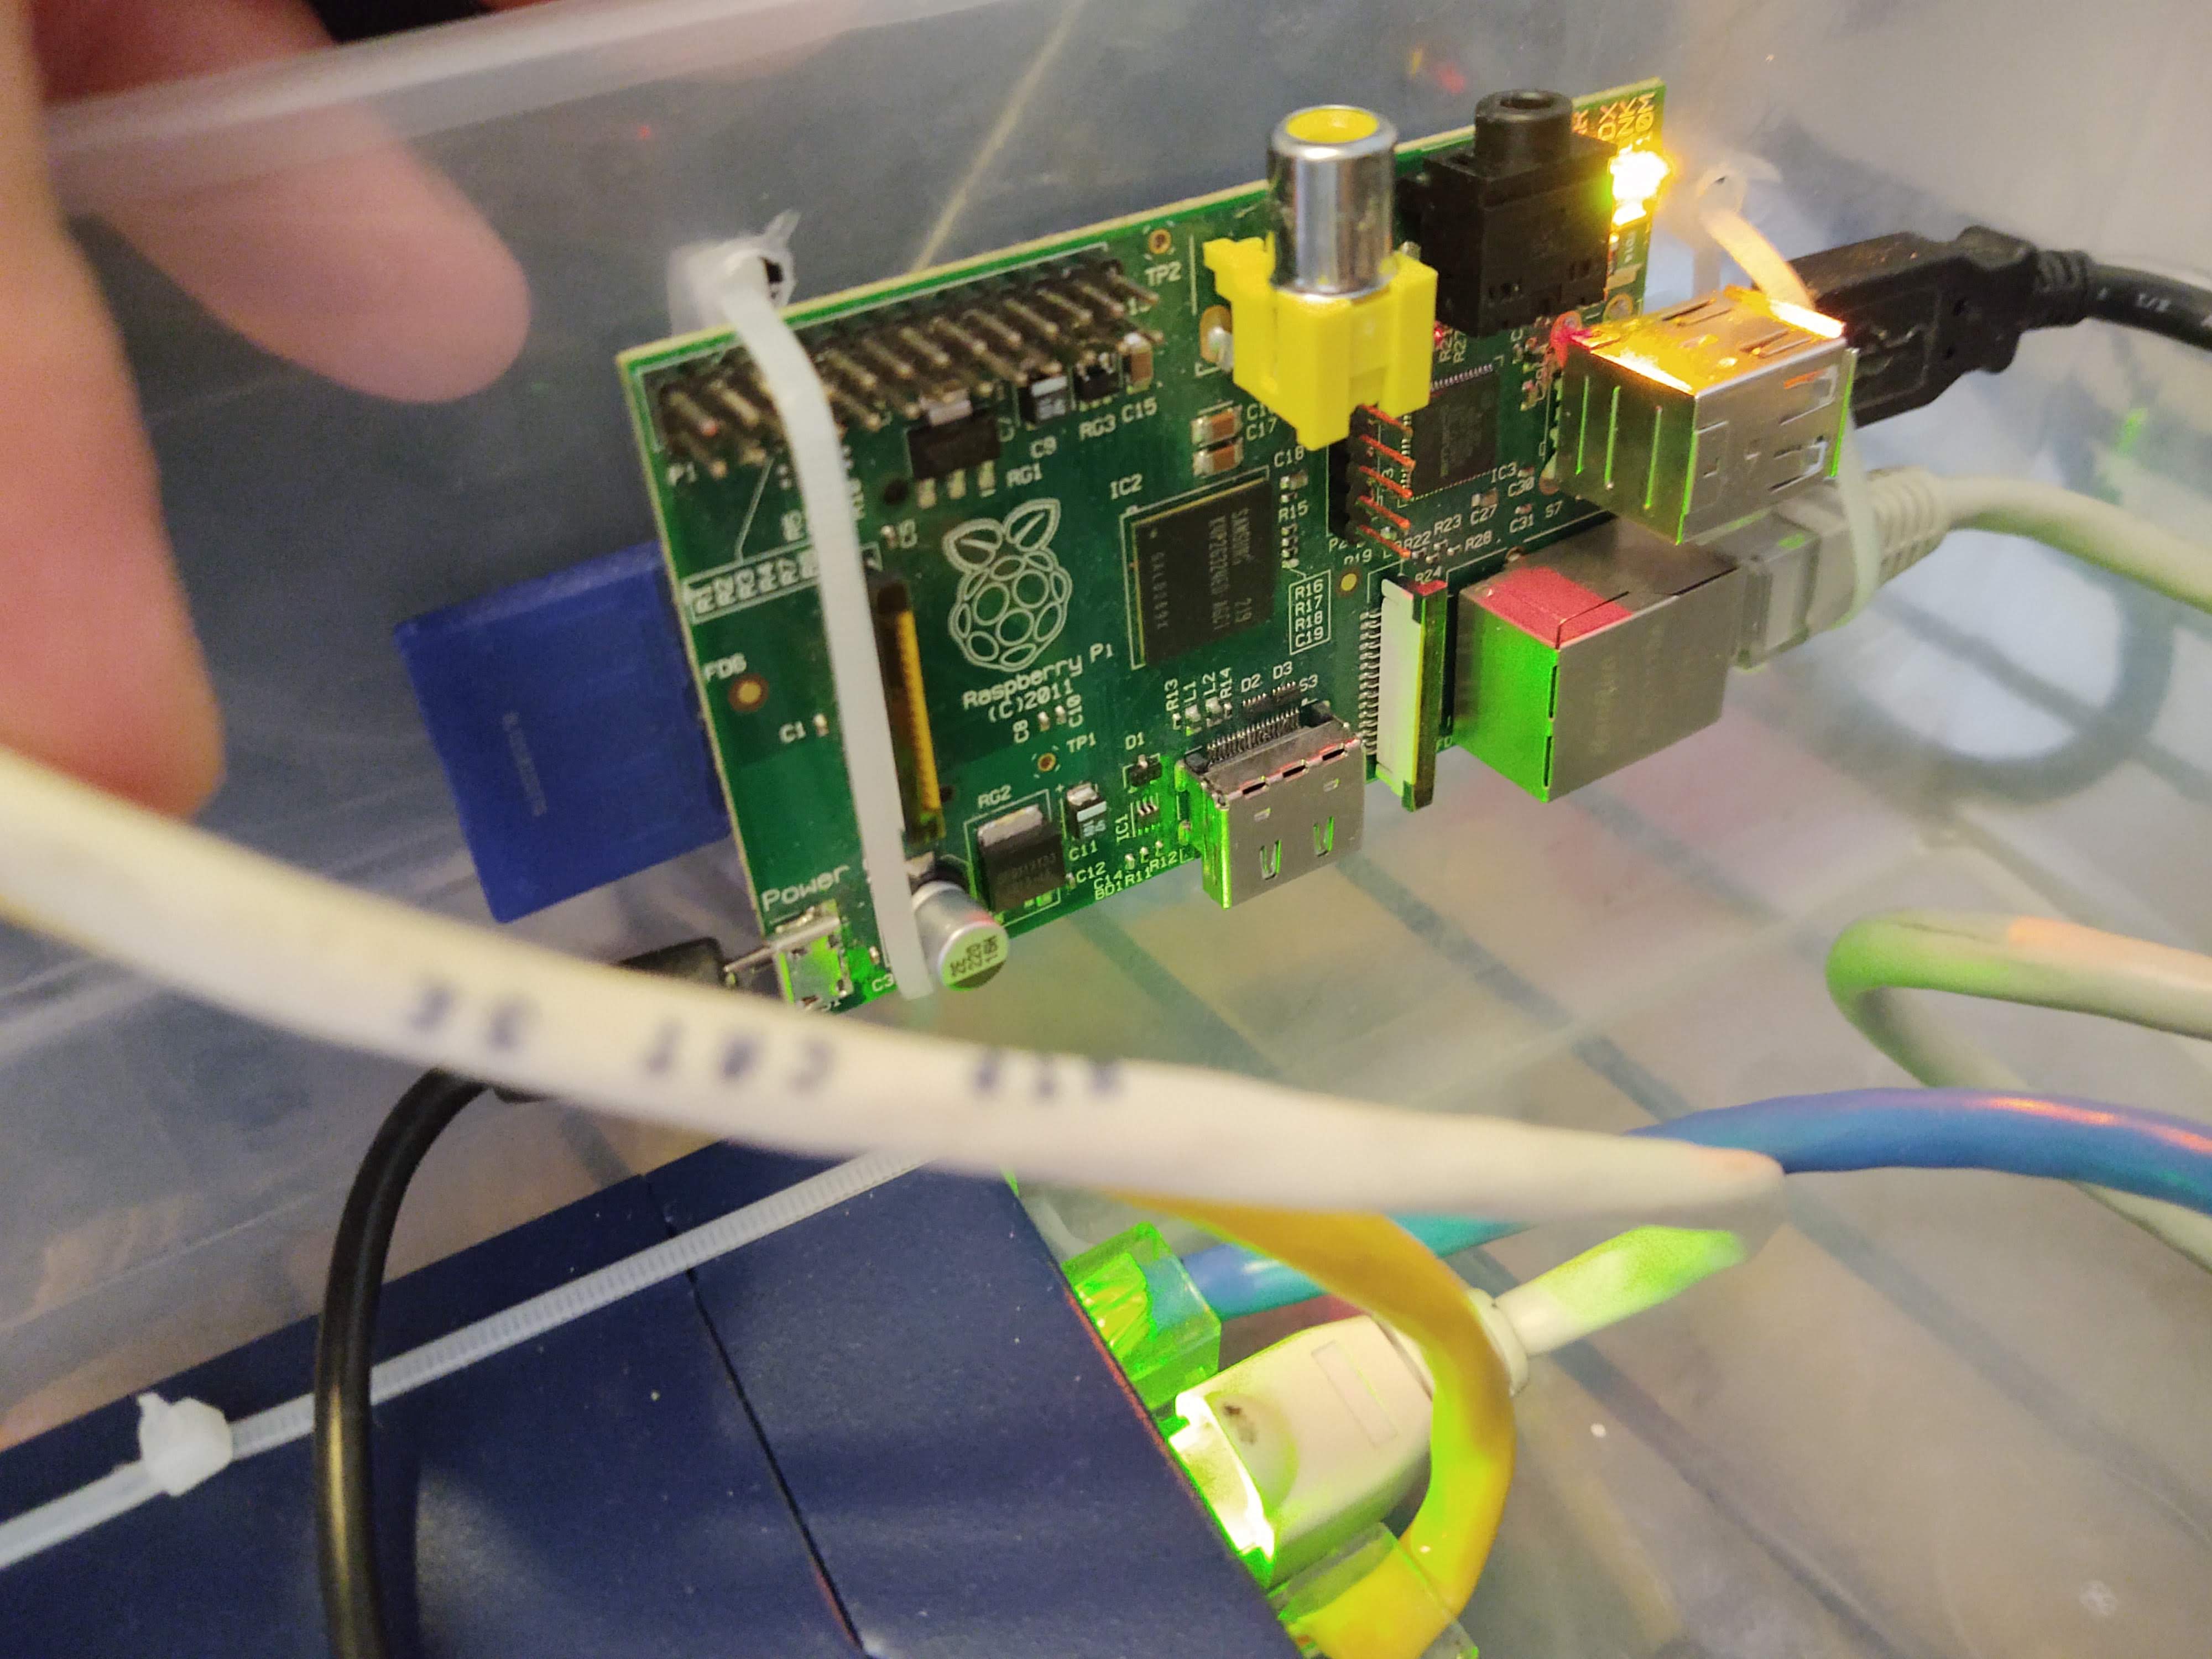
Required Hardware and Setup
To set up a Raspberry Pi as a firewall router, you'll need the following hardware:
- Raspberry Pi Model: Raspberry Pi 4 (4GB or 8GB RAM recommended) for optimal performance.
- MicroSD Card: At least 16GB with Class 10 speed for smooth operation.
- Power Supply: Official Raspberry Pi power adapter to ensure stable performance.
- Network Interfaces: At least two Ethernet ports (one built-in and one USB-to-Ethernet adapter).
- Cooling Solution: A heatsink or fan to prevent overheating during extended use.
- Case: A protective case to safeguard your Raspberry Pi.
Setting Up the Hardware
Before installing the software, ensure that your Raspberry Pi is properly assembled. Insert the microSD card, connect the Ethernet cables, and power up the device. Use a USB-to-Ethernet adapter if your Raspberry Pi model has only one Ethernet port.
Choosing the Right Software
Selecting the appropriate software is crucial for a successful Raspberry Pi firewall router setup. Two of the most popular options are pfSense and OPNsense:
pfSense
- Features: Advanced firewall, traffic shaping, and VPN support.
- User Interface: Intuitive web-based dashboard.
- Community Support: Large user base and extensive documentation.
OPNsense
- Features: Open-source, modern UI, and robust security features.
- Updates: Regular updates and active development.
- Plugins: Extensive plugin ecosystem for additional functionality.
Both options are excellent choices, but OPNsense is often preferred for its modern interface and active development community.
Step-by-Step Installation Guide
Follow these steps to install the firewall software on your Raspberry Pi:
- Download the Software: Visit the official website of your chosen software (pfSense or OPNsense) and download the installation image.
- Flash the Image: Use a tool like Balena Etcher to flash the image onto your microSD card.
- Boot the Raspberry Pi: Insert the microSD card into your Raspberry Pi and power it on.
- Access the Web Interface: Connect to the Raspberry Pi's IP address using a web browser to complete the setup.
- Configure Basic Settings: Set up the WAN and LAN interfaces, assign IP addresses, and enable DHCP.
Troubleshooting Installation Issues
If you encounter any issues during installation, refer to the software's documentation or community forums for guidance. Common problems include incorrect network settings or incompatible hardware.
Configuring Firewall Rules
Once the software is installed, you can begin configuring firewall rules to secure your network:
- Block Malicious IPs: Create rules to block known malicious IP addresses.
- Restrict Access: Limit access to specific services or devices on your network.
- Enable Logging: Monitor traffic and log events for analysis.
Use the web interface to define these rules and apply them to the appropriate interfaces.
Optimizing Network Performance
To ensure optimal performance, consider the following tips:
- Traffic Shaping: Prioritize critical traffic to reduce latency.
- Bandwidth Monitoring: Use built-in tools to track bandwidth usage and identify bottlenecks.
- Regular Updates: Keep the software up to date to benefit from the latest features and security patches.
Enhancing Security with Advanced Features
Take your Raspberry Pi firewall router to the next level with these advanced security features:
- Intrusion Detection: Enable IDS/IPS to detect and block potential threats.
- VPN Support: Set up a VPN server for secure remote access.
- Content Filtering: Block inappropriate websites and enforce parental controls.
Troubleshooting Common Issues
Despite careful setup, you may encounter issues. Here are some common problems and their solutions:
- No Internet Access: Verify WAN and LAN configurations and ensure the correct gateway is set.
- Slow Performance: Check for overheating and optimize firewall rules.
- Connection Drops: Inspect network cables and ensure stable power supply.
Conclusion and Next Steps
Setting up a Raspberry Pi as a firewall router is a rewarding project that enhances your network security and performance. By following this guide, you've learned how to assemble the hardware, install the software, and configure firewall rules. With your new Raspberry Pi firewall router, you can enjoy a secure and optimized network environment.
We encourage you to explore additional features and plugins to further enhance your setup. If you found this guide helpful, consider sharing it with others or leaving a comment below. For more articles on Raspberry Pi and network security, visit our blog. Happy networking!