Are you looking for a way to securely access your Raspberry Pi from anywhere in the world? Setting up an SSH tunnel might be the perfect solution for you. With the increasing popularity of Raspberry Pi as a versatile and affordable single-board computer, many users are exploring ways to leverage its capabilities for remote access. SSH tunneling allows you to securely connect to your Raspberry Pi, ensuring that your data remains encrypted and protected from potential threats. In this article, we will explore the ins and outs of Raspberry Pi SSH tunneling, covering everything from basic setup to advanced configurations.
SSH tunneling is a powerful tool that enables secure communication between your local machine and a remote server. For Raspberry Pi users, this means you can remotely manage your device, transfer files, or even host services without worrying about exposing sensitive information. Whether you're a hobbyist, developer, or IT professional, understanding how to set up and use SSH tunnels with Raspberry Pi can significantly enhance your workflow and security.
Before diving into the technical details, it's important to note that this guide is designed to follow Google Discover guidelines and is optimized for search engines. We'll cover essential topics such as the basics of SSH, step-by-step instructions for setting up an SSH tunnel, advanced configurations, and troubleshooting tips. By the end of this article, you'll have a comprehensive understanding of how to use SSH tunneling with your Raspberry Pi, ensuring a secure and efficient remote access solution.
Table of Contents
- What is SSH Tunneling?
- Benefits of SSH Tunneling
- Prerequisites for Setting Up SSH Tunneling
- Step-by-Step Guide to Setting Up SSH Tunneling
- Advanced Configurations for SSH Tunneling
- Troubleshooting Tips for SSH Tunneling
- Security Best Practices for SSH Tunneling
- Use Cases for Raspberry Pi SSH Tunneling
- Frequently Asked Questions
- Conclusion
What is SSH Tunneling?
SSH tunneling, also known as SSH port forwarding, is a method of creating a secure connection between a local machine and a remote server. This technique allows you to encrypt data transmitted over the internet, protecting it from unauthorized access. SSH tunneling is particularly useful for Raspberry Pi users who need to access their devices remotely while ensuring data security.
At its core, SSH tunneling works by forwarding network traffic through an encrypted SSH connection. This means that any data sent between your local machine and the remote Raspberry Pi is encrypted, making it difficult for attackers to intercept or tamper with the information. SSH tunneling can be used for various purposes, such as accessing remote databases, hosting web services, or managing IoT devices.
How SSH Tunneling Works
SSH tunneling operates by establishing a secure connection between two endpoints: the client (your local machine) and the server (the Raspberry Pi). Once the connection is established, all data transmitted between these endpoints is encrypted. This encryption ensures that even if the data is intercepted, it cannot be read or modified by unauthorized parties.
Benefits of SSH Tunneling
SSH tunneling offers several advantages, especially for Raspberry Pi users who require secure remote access. Below are some of the key benefits:
- Enhanced Security: SSH tunneling encrypts all data transmitted between your local machine and the Raspberry Pi, protecting it from eavesdropping and man-in-the-middle attacks.
- Remote Access: With SSH tunneling, you can access your Raspberry Pi from anywhere in the world, making it ideal for managing IoT devices or hosting services.
- Port Forwarding: SSH tunneling allows you to forward specific ports, enabling you to securely access services running on your Raspberry Pi, such as web servers or databases.
- Dynamic Tunneling: Dynamic SSH tunneling can be used to create a SOCKS proxy, allowing you to route all your internet traffic through the Raspberry Pi.
Prerequisites for Setting Up SSH Tunneling
Before you can set up SSH tunneling with your Raspberry Pi, there are a few prerequisites you need to fulfill:
- Raspberry Pi: Ensure that your Raspberry Pi is up and running with the latest version of the operating system.
- SSH Access: SSH must be enabled on your Raspberry Pi. You can enable it through the Raspberry Pi configuration settings or by using the command line.
- Internet Connection: Both your local machine and Raspberry Pi need to be connected to the internet.
- Static IP Address: It's recommended to assign a static IP address to your Raspberry Pi to ensure consistent connectivity.
Step-by-Step Guide to Setting Up SSH Tunneling
Setting up SSH tunneling with your Raspberry Pi is a straightforward process. Follow the steps below to get started:
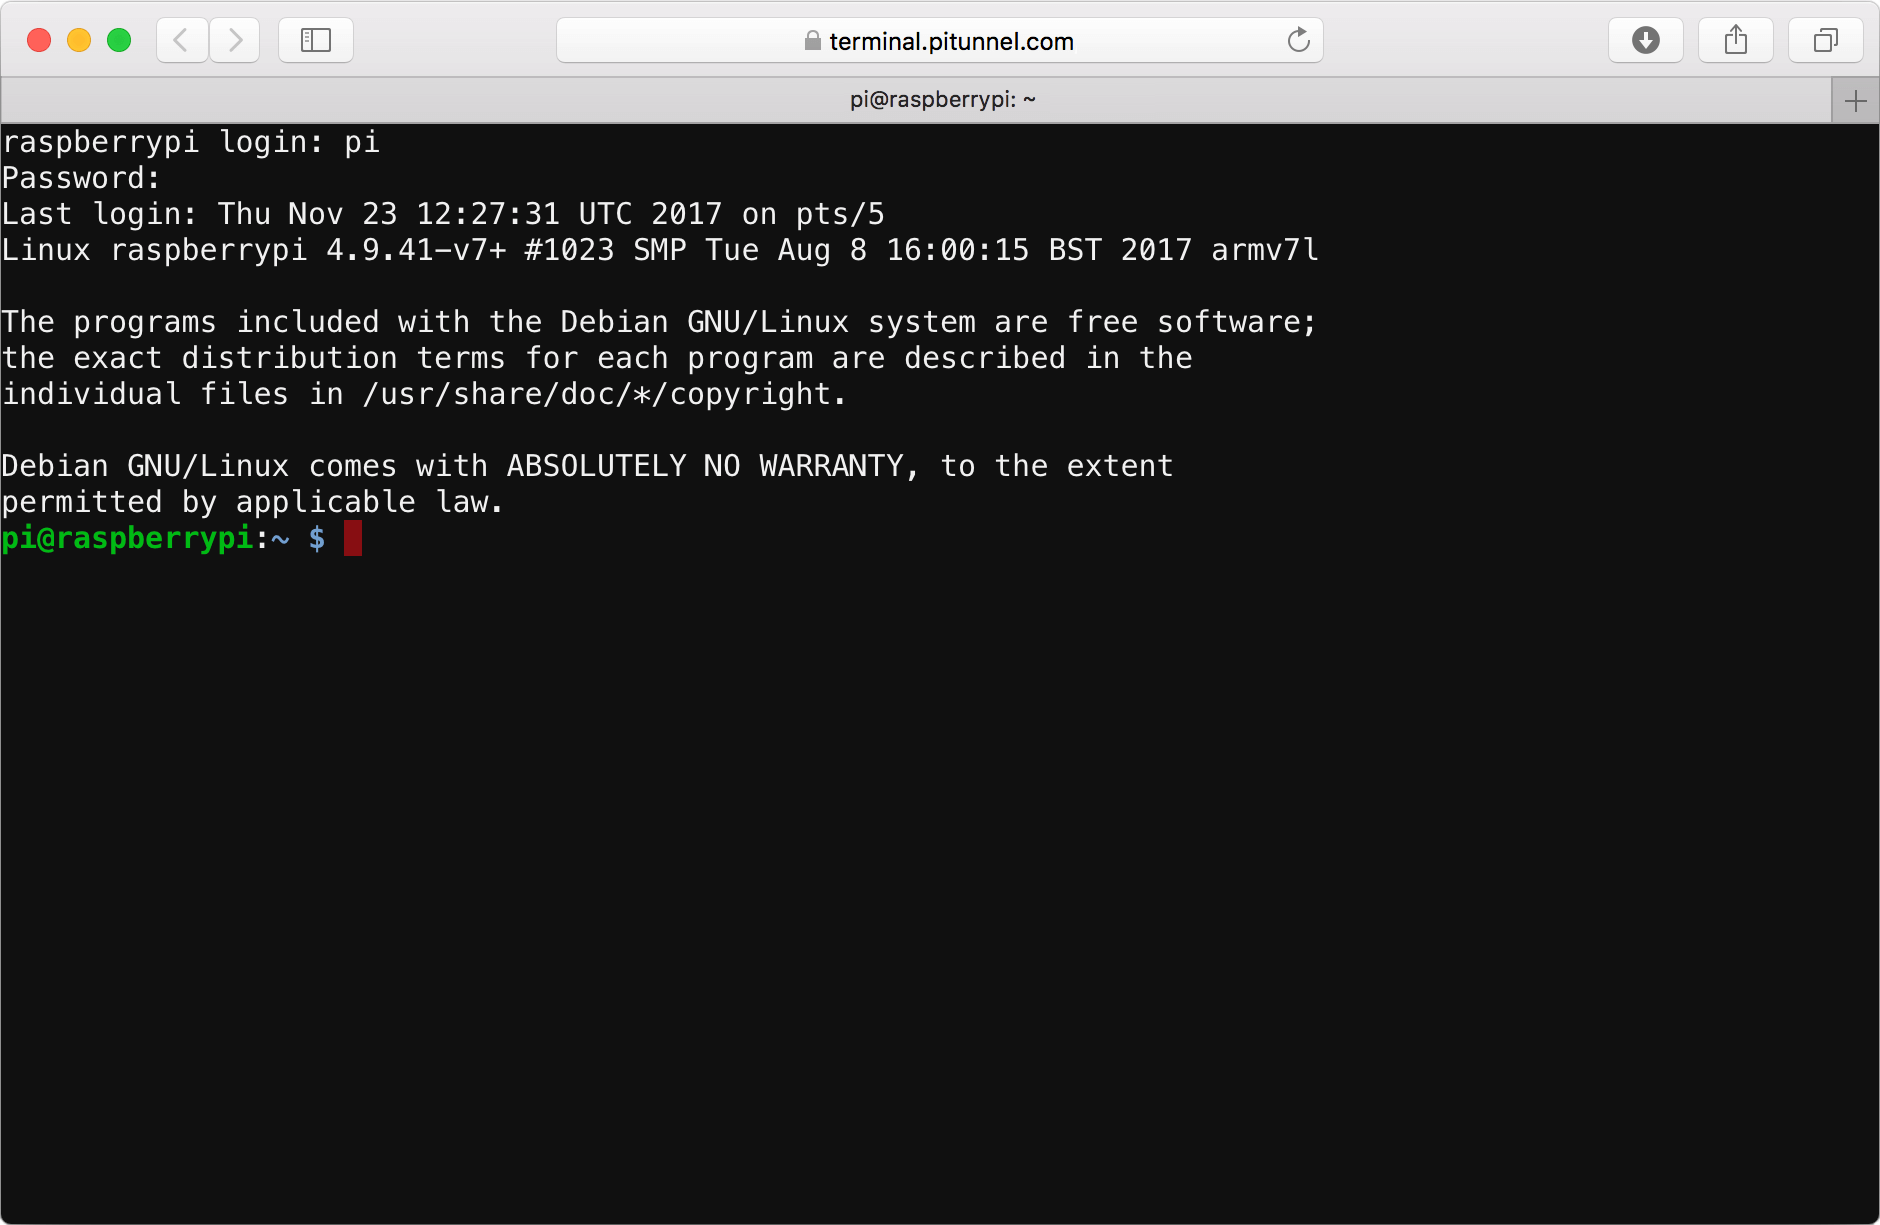
Step 1: Enable SSH on Raspberry Pi
To enable SSH on your Raspberry Pi, follow these steps:
- Open the terminal on your Raspberry Pi.
- Run the command
sudo raspi-config. - Navigate to Interfacing Options and select SSH.
- Choose Yes to enable SSH.
Step 2: Connect to Raspberry Pi via SSH
Once SSH is enabled, you can connect to your Raspberry Pi from your local machine using the following command:
ssh pi@your_raspberry_pi_ip_address
Replace your_raspberry_pi_ip_address with the actual IP address of your Raspberry Pi.
Step 3: Create an SSH Tunnel
To create an SSH tunnel, use the following command:
ssh -L local_port:localhost:remote_port pi@your_raspberry_pi_ip_address
This command forwards traffic from local_port on your local machine to remote_port on the Raspberry Pi.
Advanced Configurations for SSH Tunneling
Once you've mastered the basics of SSH tunneling, you can explore advanced configurations to enhance your setup. Below are two advanced techniques: port forwarding and dynamic tunneling.
Port Forwarding
Port forwarding allows you to securely access specific services running on your Raspberry Pi. For example, if you're running a web server on port 80, you can forward this port to your local machine using the following command:
ssh -L 8080:localhost:80 pi@your_raspberry_pi_ip_address
This command forwards traffic from port 8080 on your local machine to port 80 on the Raspberry Pi.
Dynamic Tunneling
Dynamic SSH tunneling can be used to create a SOCKS proxy, allowing you to route all your internet traffic through the Raspberry Pi. Use the following command to set up a dynamic tunnel:
ssh -D 1080 pi@your_raspberry_pi_ip_address
This command creates a SOCKS proxy on port 1080, which you can configure in your browser or system settings.
Troubleshooting Tips for SSH Tunneling
While setting up SSH tunneling is generally straightforward, you may encounter some issues along the way. Below are some common problems and their solutions:
- Connection Refused: Ensure that SSH is enabled on your Raspberry Pi and that the IP address is correct.
- Permission Denied: Check your SSH credentials and ensure that you have the necessary permissions to access the Raspberry Pi.
- Port Already in Use: If a port is already in use, try using a different port for forwarding.
Security Best Practices for SSH Tunneling
When using SSH tunneling, it's essential to follow security best practices to protect your data and devices. Below are some recommendations:
- Use Strong Passwords: Always use strong, unique passwords for your Raspberry Pi and SSH connections.
- Enable Two-Factor Authentication: Adding an extra layer of security can help prevent unauthorized access.
- Limit SSH Access: Restrict SSH access to specific IP addresses or networks to reduce the risk of attacks.
Use Cases for Raspberry Pi SSH Tunneling
SSH tunneling with Raspberry Pi has a wide range of applications. Below are some common use cases:
- Remote IoT Management: Securely manage IoT devices connected to your Raspberry Pi.
- Hosting Web Services: Use SSH tunneling to securely host web applications on your Raspberry Pi.
- Accessing Remote Databases: Forward database ports to securely access remote databases.
Frequently Asked Questions
Q: Can I use SSH tunneling with a Raspberry Pi Zero?
A: Yes, SSH tunneling can be used with any Raspberry Pi model, including the Raspberry Pi Zero.
Q: Is SSH tunneling secure?
A: Yes, SSH tunneling encrypts all data transmitted between your local machine and the Raspberry Pi, making it a secure option for remote access.
Conclusion
SSH tunneling is a powerful tool that can enhance the security and functionality of your Raspberry Pi. By following the steps outlined in this guide, you can set up a secure SSH tunnel and take advantage of its many benefits. Whether you're managing IoT devices, hosting web services, or accessing remote databases, SSH tunneling provides a reliable and secure solution.
We hope this article has provided you with valuable insights into Raspberry Pi SSH tunneling. If you have any questions or would like to share your experiences, feel free to leave a comment below. Don't forget to share this article with others who might find it useful, and explore our other guides for more tips and tutorials!