Are you looking to unlock the full potential of your Raspberry Pi by enabling SSH? You're in the right place. Secure Shell (SSH) is a powerful tool that allows you to remotely access and manage your Raspberry Pi from any device, anywhere in the world. Whether you're a beginner or an advanced user, understanding how to configure and use SSH on Raspberry Pi OS can significantly enhance your productivity and flexibility. This guide will walk you through everything you need to know about Raspberry Pi OS SSH, from enabling it to securing your connection and troubleshooting common issues.
In today's digital age, remote access has become a necessity for many users. With Raspberry Pi OS SSH, you can control your Raspberry Pi without needing a monitor, keyboard, or mouse attached to it. This is especially useful for projects like home automation, media servers, or IoT devices. SSH not only simplifies the management of your Raspberry Pi but also ensures that your connection remains secure. In this article, we will explore the step-by-step process of setting up SSH, advanced configurations, and tips to keep your system safe.
Before diving into the technical details, it's important to understand why SSH is crucial for Raspberry Pi users. SSH provides a secure encrypted channel over an unsecured network, protecting your data from unauthorized access. It is widely regarded as one of the most reliable methods for remote administration. By the end of this article, you'll have a clear understanding of how to enable SSH, configure it for optimal performance, and troubleshoot any issues that may arise.
Table of Contents
- Introduction to SSH
- Enabling SSH on Raspberry Pi OS
- Connecting to Your Raspberry Pi via SSH
- Configuring SSH for Security
- Advanced SSH Configurations
- Troubleshooting Common SSH Issues
- SSH Best Practices
- Useful SSH Commands
- Alternatives to SSH
- Conclusion
Introduction to SSH
SSH, or Secure Shell, is a cryptographic network protocol used for secure data communication, remote command execution, and other secure network services between two networked devices. It was designed as a replacement for insecure protocols like Telnet and FTP, which transmit data, including passwords, in plain text. SSH encrypts all data transmitted over the network, ensuring that sensitive information remains confidential.
For Raspberry Pi users, SSH is particularly valuable because it allows you to remotely manage your device without needing physical access. This is especially useful for headless setups, where the Raspberry Pi operates without a monitor or keyboard. SSH can be accessed from a variety of devices, including Windows, macOS, and Linux computers, as well as smartphones and tablets.
How SSH Works
SSH operates on a client-server model. The SSH client, which runs on your local machine, initiates a connection to the SSH server, which is running on the Raspberry Pi. Once the connection is established, all communication between the client and server is encrypted using cryptographic algorithms. This ensures that even if someone intercepts the data, they won't be able to decipher it.
Enabling SSH on Raspberry Pi OS
Enabling SSH on Raspberry Pi OS is a straightforward process. By default, SSH is disabled for security reasons, so you'll need to enable it manually. There are several methods to do this, depending on your setup and preferences.
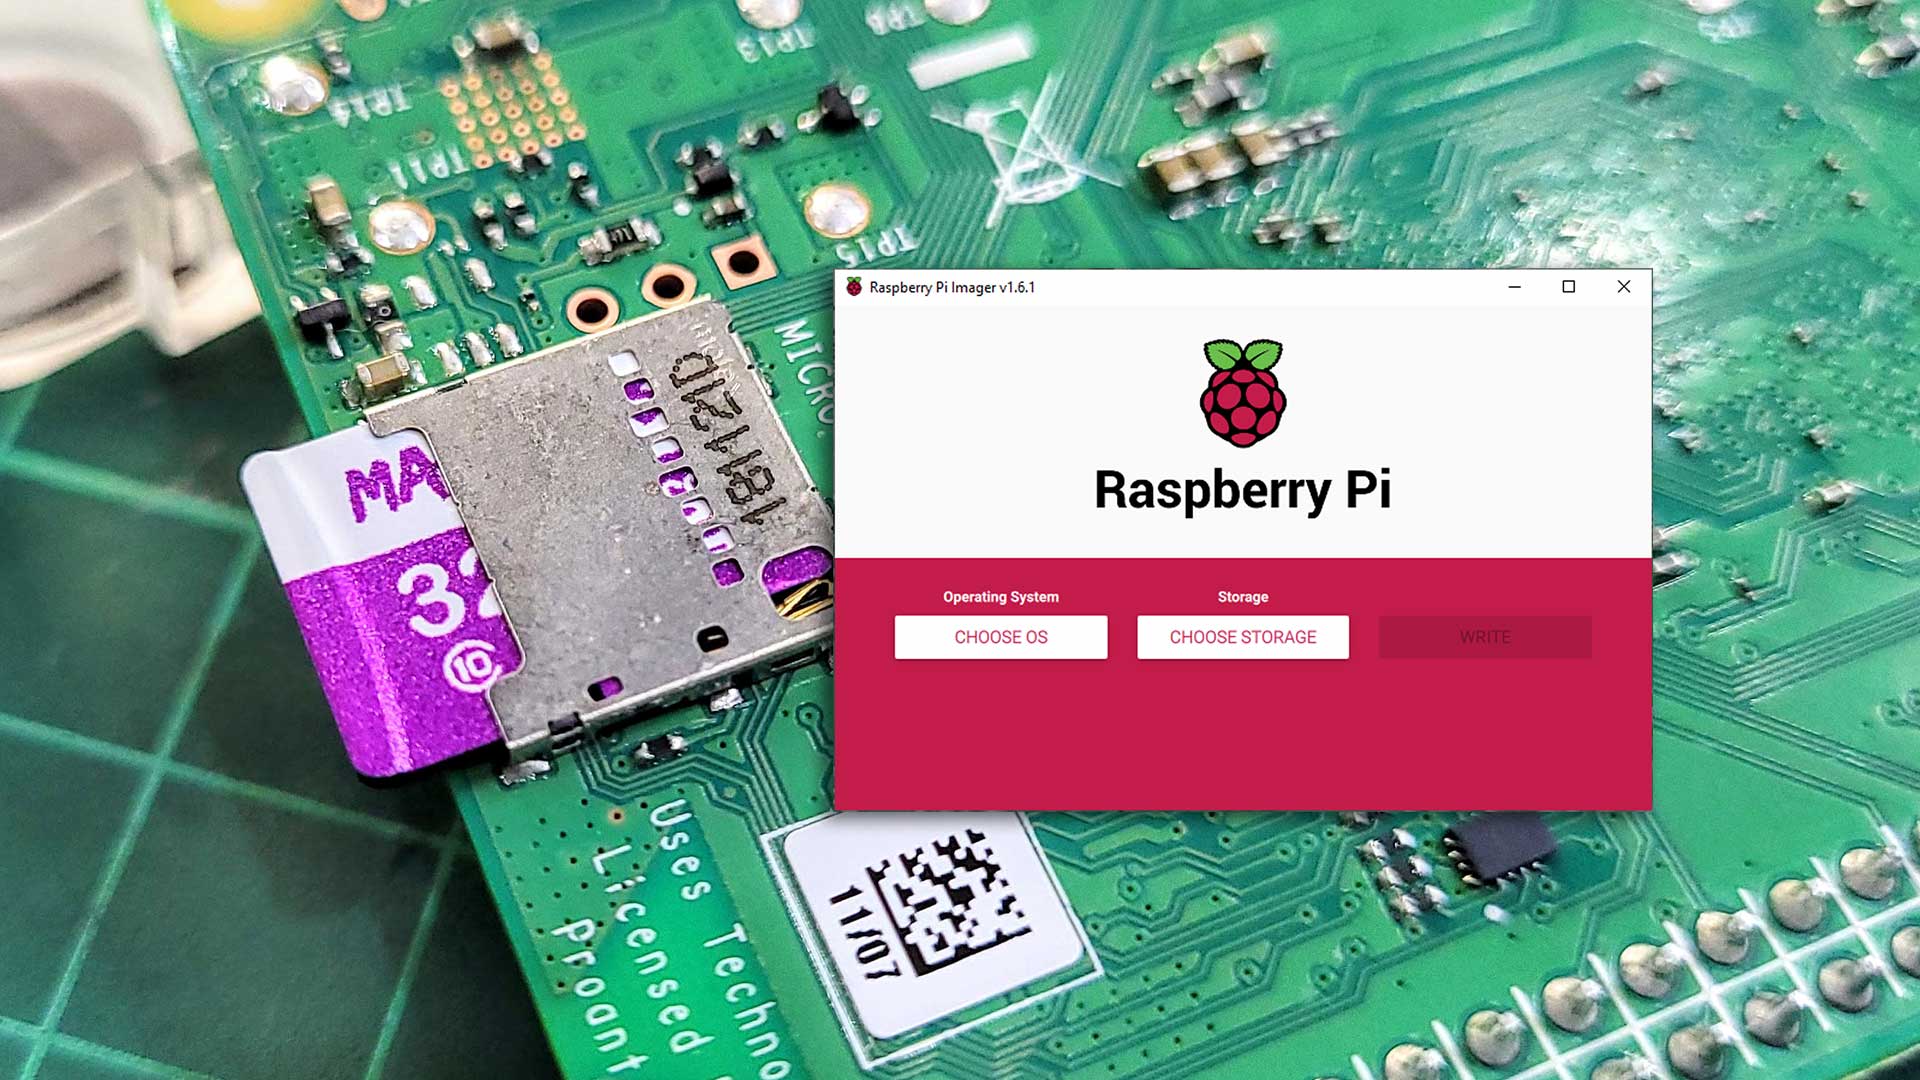
Method 1: Using the Raspberry Pi Imager
If you're setting up your Raspberry Pi for the first time, you can enable SSH during the initial setup using the Raspberry Pi Imager. Follow these steps:
- Download and install the Raspberry Pi Imager from the official website.
- Open the Imager and select your desired operating system (e.g., Raspberry Pi OS).
- Click on the gear icon to access advanced options.
- Check the box to enable SSH and optionally set a password.
- Write the image to your SD card and boot your Raspberry Pi.
Method 2: Creating an Empty SSH File
If you've already installed Raspberry Pi OS, you can enable SSH by creating an empty file named "ssh" in the boot partition of your SD card. Here's how:
- Insert your SD card into your computer.
- Navigate to the boot partition of the SD card.
- Create a new file named "ssh" (without any extension).
- Eject the SD card and insert it back into your Raspberry Pi.
Method 3: Using the Raspberry Pi Configuration Tool
If your Raspberry Pi is already running, you can enable SSH using the Raspberry Pi Configuration Tool:
- Open the terminal on your Raspberry Pi.
- Type
sudo raspi-configand press Enter. - Navigate to "Interfacing Options" and select "SSH."
- Choose "Yes" to enable SSH and exit the tool.
Connecting to Your Raspberry Pi via SSH
Once SSH is enabled, you can connect to your Raspberry Pi from another device. The process varies slightly depending on your operating system.
Connecting from Windows
Windows users can use tools like PuTTY or the built-in SSH client in Windows 10 and later:
- Open the Command Prompt or PowerShell.
- Type
ssh pi@raspberrypi.localand press Enter. - Enter the default password (usually "raspberry") when prompted.
Connecting from macOS and Linux
macOS and Linux users can use the terminal to connect:
- Open the terminal application.
- Type
ssh pi@raspberrypi.localand press Enter. - Enter the password when prompted.
Configuring SSH for Security
While SSH is inherently secure, there are additional steps you can take to enhance its security:
Change the Default Password
The default username and password for Raspberry Pi OS are well-known, making it a target for attackers. Change the password immediately after enabling SSH:
- Open the terminal on your Raspberry Pi.
- Type
passwdand press Enter. - Follow the prompts to set a new password.
Disable Password Authentication
To further secure your SSH connection, consider disabling password authentication and using SSH keys instead:
- Edit the SSH configuration file by typing
sudo nano /etc/ssh/sshd_config. - Find the line
PasswordAuthentication yesand change it toPasswordAuthentication no. - Save the file and restart the SSH service with
sudo systemctl restart ssh.
Advanced SSH Configurations
For users looking to optimize their SSH setup, here are some advanced configurations:
Changing the Default SSH Port
Changing the default SSH port can help reduce the number of brute-force attacks:
- Edit the SSH configuration file:
sudo nano /etc/ssh/sshd_config. - Find the line
#Port 22and change it to a different port number (e.g.,Port 2222). - Save the file and restart the SSH service.
Setting Up SSH Key Authentication
SSH key authentication provides a more secure and convenient way to log in:
- Generate an SSH key pair on your local machine using
ssh-keygen. - Copy the public key to your Raspberry Pi using
ssh-copy-id pi@raspberrypi.local. - Disable password authentication as described earlier.
Troubleshooting Common SSH Issues
Even with proper configuration, you may encounter issues when using SSH. Here are some common problems and their solutions:
Connection Refused
If you receive a "Connection refused" error, ensure that:
- SSH is enabled on your Raspberry Pi.
- Your Raspberry Pi is powered on and connected to the network.
- You're using the correct IP address or hostname.
Permission Denied
A "Permission denied" error usually indicates an issue with authentication:
- Double-check your username and password.
- Ensure that SSH key authentication is properly configured if you're using it.
SSH Best Practices
Follow these best practices to ensure a secure and efficient SSH setup:
- Regularly update your Raspberry Pi OS and SSH software.
- Use strong, unique passwords or SSH keys.
- Monitor your SSH logs for suspicious activity.
- Limit SSH access to specific IP addresses if possible.
Useful SSH Commands
Here are some essential SSH commands to help you manage your Raspberry Pi:
ssh pi@raspberrypi.local: Connect to your Raspberry Pi.scp file.txt pi@raspberrypi.local:/home/pi/: Transfer files securely.ssh-keygen: Generate SSH keys.
Alternatives to SSH
While SSH is the most common method for remote access, there are alternatives worth considering:
- VNC: Provides a graphical interface for remote access.
- RDP: Useful for Windows users who prefer a GUI.
- Web-based interfaces: Some applications offer web-based access.
Conclusion
In this comprehensive guide, we've explored everything you need to know about Raspberry Pi OS SSH, from enabling it to securing your connection and troubleshooting common issues. SSH is an indispensable tool for Raspberry Pi users, offering secure and convenient remote access. By following the steps and best practices outlined in this article, you can ensure that your Raspberry Pi remains both accessible and secure.
If you found this guide helpful, feel free to share it with others who might benefit. Additionally, leave a comment below to share your experiences or ask any questions you may have. For more articles like this, be sure to explore our website and stay updated with the latest tips and tutorials.