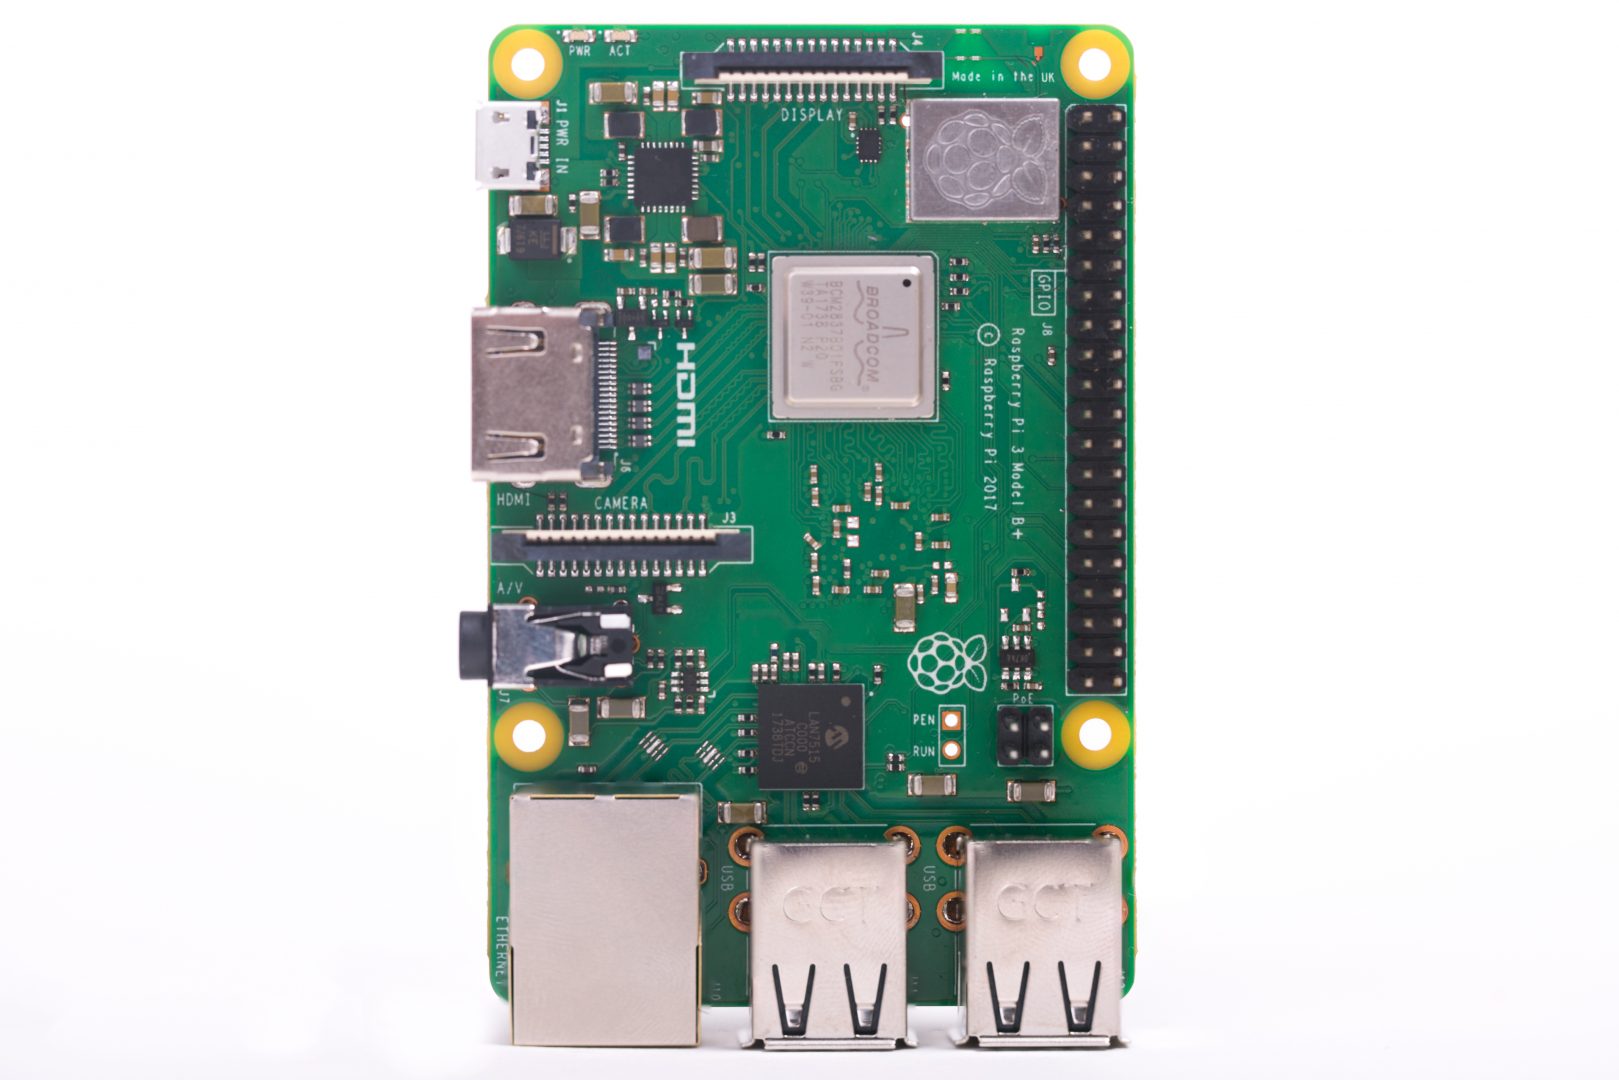
Are you looking for a way to remotely access your Raspberry Pi from another computer? Whether you're a hobbyist, a developer, or someone managing IoT devices, learning how to remotely access your Raspberry Pi can significantly enhance your productivity. Remote access allows you to control your Raspberry Pi from anywhere in the world, enabling you to manage files, run commands, and even troubleshoot issues without being physically present. This guide will walk you through everything you need to know about remotely accessing your Raspberry Pi, including step-by-step instructions, tools, and best practices.
Remote access is not just a convenience; it’s a necessity in today’s interconnected world. With the right setup, you can transform your Raspberry Pi into a powerful remote server, media center, or even a home automation hub. But before diving into the technical details, it’s important to understand the basics of remote access and the tools available. In this article, we will explore various methods to remotely access your Raspberry Pi, including SSH, VNC, and web-based interfaces, while ensuring your connection is secure and reliable.
By the end of this guide, you’ll have a clear understanding of how to remotely access your Raspberry Pi and which method suits your needs best. Whether you’re a beginner or an experienced user, this article is designed to provide you with actionable insights and expert advice. Let’s get started!
Table of Contents
Introduction to Remote Access
Remote access refers to the ability to connect to and control a device, such as a Raspberry Pi, from a different location using a network or the internet. This capability is particularly useful for managing servers, IoT devices, or any project that requires constant monitoring and interaction. With remote access, you can perform tasks like file transfers, software updates, and system configurations without being physically present near the device.
There are several methods to remotely access a Raspberry Pi, each with its own advantages and use cases. Some of the most common methods include Secure Shell (SSH), Virtual Network Computing (VNC), and web-based interfaces. Each method caters to different needs, such as command-line access, graphical desktop control, or browser-based management. Understanding these methods will help you choose the right one for your specific requirements.
Before diving into the technical details, it’s important to ensure that your Raspberry Pi is properly configured for remote access. This includes enabling the necessary services, securing your connection, and ensuring your network allows remote connections. In the following sections, we’ll explore each method in detail and provide step-by-step instructions to help you get started.
Tools for Remote Access
To remotely access your Raspberry Pi, you’ll need the right tools and software. These tools act as intermediaries between your computer and the Raspberry Pi, enabling seamless communication over a network. Below are some of the most popular tools for remote access:
- SSH Clients: Tools like PuTTY (Windows) and Terminal (macOS/Linux) allow you to establish a secure command-line connection to your Raspberry Pi.
- VNC Clients: Applications like RealVNC and TightVNC enable remote desktop access, allowing you to control the graphical interface of your Raspberry Pi.
- Web-Based Interfaces: Platforms like Portainer or custom web dashboards provide browser-based access to manage your Raspberry Pi.
Choosing the right tool depends on your specific needs. For example, if you need to run commands and scripts, SSH is the most efficient option. If you require full desktop access, VNC is the way to go. Additionally, web-based interfaces are ideal for users who prefer a user-friendly, browser-based experience.
Setting Up SSH for Raspberry Pi
SSH (Secure Shell) is one of the most widely used methods for remote access due to its simplicity and security. It allows you to connect to your Raspberry Pi via the command line, making it ideal for tasks like file management, software installation, and system monitoring. Here’s how to set up SSH on your Raspberry Pi:
Step 1: Enable SSH on Raspberry Pi
To enable SSH, you can use the Raspberry Pi Configuration tool:
- Open the terminal on your Raspberry Pi.
- Type
sudo raspi-configand press Enter. - Navigate to "Interfacing Options" and select "SSH."
- Choose "Yes" to enable SSH and exit the configuration tool.
Step 2: Find Your Raspberry Pi’s IP Address
To connect to your Raspberry Pi remotely, you’ll need its IP address. You can find it by running the following command in the terminal:
hostname -I
Step 3: Connect Using an SSH Client
Once SSH is enabled, you can connect to your Raspberry Pi from another computer using an SSH client:
- For Windows, download and install PuTTY.
- For macOS/Linux, use the built-in Terminal.
Enter the Raspberry Pi’s IP address and your username (default is "pi") to establish the connection.
Using VNC for Remote Desktop Access
If you need full graphical desktop access to your Raspberry Pi, VNC (Virtual Network Computing) is the best option. VNC allows you to remotely control your Raspberry Pi’s desktop environment as if you were sitting in front of it. Here’s how to set it up:
Step 1: Install VNC Server on Raspberry Pi
Run the following commands in the terminal to install and enable the VNC server:
sudo apt update
sudo apt install realvnc-vnc-server
Step 2: Enable VNC in Raspberry Pi Configuration
Use the Raspberry Pi Configuration tool to enable VNC:
- Open the terminal and type
sudo raspi-config. - Navigate to "Interfacing Options" and select "VNC."
- Choose "Yes" to enable VNC and exit the tool.
Step 3: Connect Using a VNC Client
Download and install a VNC client like RealVNC Viewer on your computer. Enter the Raspberry Pi’s IP address and credentials to connect.
Web-Based Access Options
Web-based access provides a convenient way to manage your Raspberry Pi using a browser. This method is ideal for users who prefer a graphical interface without installing additional software. Below are some popular web-based access options:
- Portainer: A web-based interface for managing Docker containers on your Raspberry Pi.
- Custom Dashboards: You can create your own web-based dashboard using frameworks like Flask or Django.
- Webmin: A web-based system configuration tool for managing your Raspberry Pi.
To set up web-based access, you’ll need to install the appropriate software and configure your Raspberry Pi to serve web pages. Ensure that your firewall and network settings allow incoming connections to the web server.
Security Best Practices
When remotely accessing your Raspberry Pi, security should be a top priority. An unsecured connection can expose your device to unauthorized access and potential attacks. Here are some best practices to enhance security:
- Use Strong Passwords: Avoid using default credentials like "pi" and "raspberry." Create a strong, unique password for your Raspberry Pi.
- Enable Two-Factor Authentication (2FA): Add an extra layer of security by requiring a second form of verification during login.
- Restrict Access: Use firewalls and IP whitelisting to limit who can connect to your Raspberry Pi.
- Keep Software Updated: Regularly update your Raspberry Pi’s operating system and installed software to patch vulnerabilities.
Advanced Remote Access Methods
For users with advanced needs, there are additional methods to remotely access your Raspberry Pi. These methods cater to specific use cases, such as managing multiple devices or automating tasks:
- Reverse SSH Tunneling: Allows you to access your Raspberry Pi even if it’s behind a firewall or NAT.
- Dynamic DNS: Enables you to connect to your Raspberry Pi using a domain name instead of an IP address.
- Cloud-Based Solutions: Platforms like AWS IoT or Azure IoT Hub provide robust remote access capabilities for IoT devices.
These advanced methods require a deeper understanding of networking and system administration but offer greater flexibility and scalability.
Troubleshooting Tips
Even with the best setup, you may encounter issues while remotely accessing your Raspberry Pi. Here are some common problems and their solutions:
- Connection Refused: Ensure that SSH or VNC is enabled on your Raspberry Pi and that the correct IP address is used.
- Slow Performance: Optimize your network settings and consider using a wired connection for better stability.
- Authentication Errors: Double-check your credentials and ensure that two-factor authentication is properly configured.
If the issue persists, consult the Raspberry Pi forums or official documentation for further assistance.
Frequently Asked Questions
Here are some common questions about remotely accessing a Raspberry Pi:
- Can I access my Raspberry Pi from anywhere in the world? Yes, with the right configuration, you can access your Raspberry Pi remotely over the internet.
- Is it safe to remotely access my Raspberry Pi? Yes, as long as you follow security best practices like using strong passwords and enabling encryption.
- What’s the difference between SSH and VNC? SSH provides command-line access, while VNC allows full graphical desktop control.
Conclusion
Remotely accessing your Raspberry Pi from another computer is a powerful capability that can enhance your productivity and expand the possibilities of your projects. Whether you choose SSH for command-line control, VNC for graphical desktop access, or web-based interfaces for browser-based management, there’s a method that suits your needs. By following the steps outlined in this guide and adhering to security best practices, you can ensure a smooth and secure remote access experience.
We hope this article has provided you with the knowledge and confidence to remotely access your Raspberry Pi. If you found this guide helpful, feel free to share it with others or leave a comment below. For more tips and tutorials, explore our other articles on Raspberry Pi and IoT technologies. Happy tinkering!